How to... fit some engine case covers
Because they're cheaper than a wrecked engine...

By Alan Dowds
THE cosmetic damage caused when you drop your bike is a nightmare – scraped tanks, scratched frames and broken plastic. But even a seemingly-minor crash can wreck your engine – cracking an engine case can let oil or coolant leak out, and road grit or dirt can get inside, mangling delicate internal parts. Worst case, we've even heard of bent crankshafts, if the side of an inline engine smacks the ground and the end of the crank gets clobbered.
Normal crash bungs will help – but for extra security, some bolt-on engine case covers will work even better. They're compulsory for some racing classes too (oil leaks on circuits waste loads of time), so you might need to fit some if you're planning a race career.
They're a breeze to fit luckily. Here's how, with some covers from R&G Racing. GB Motorsports also make excellent kits.
1 Preparation
Give the instructions the once-over to see if you need to remove any panels or parts to get access. Most kits don't need you to remove the covers, so you shouldn't need any new gaskets or seals. Grab the correct spanner, socket or Allen driver to remove the case cover bolts.
Generally, the covers are shaped to fit over the entire engine case and fasteners, except for two-to-four bolts. These are removed from the engine, the cover fits over, and you use the supplied bolts – which are a little longer – to secure the cover in place.
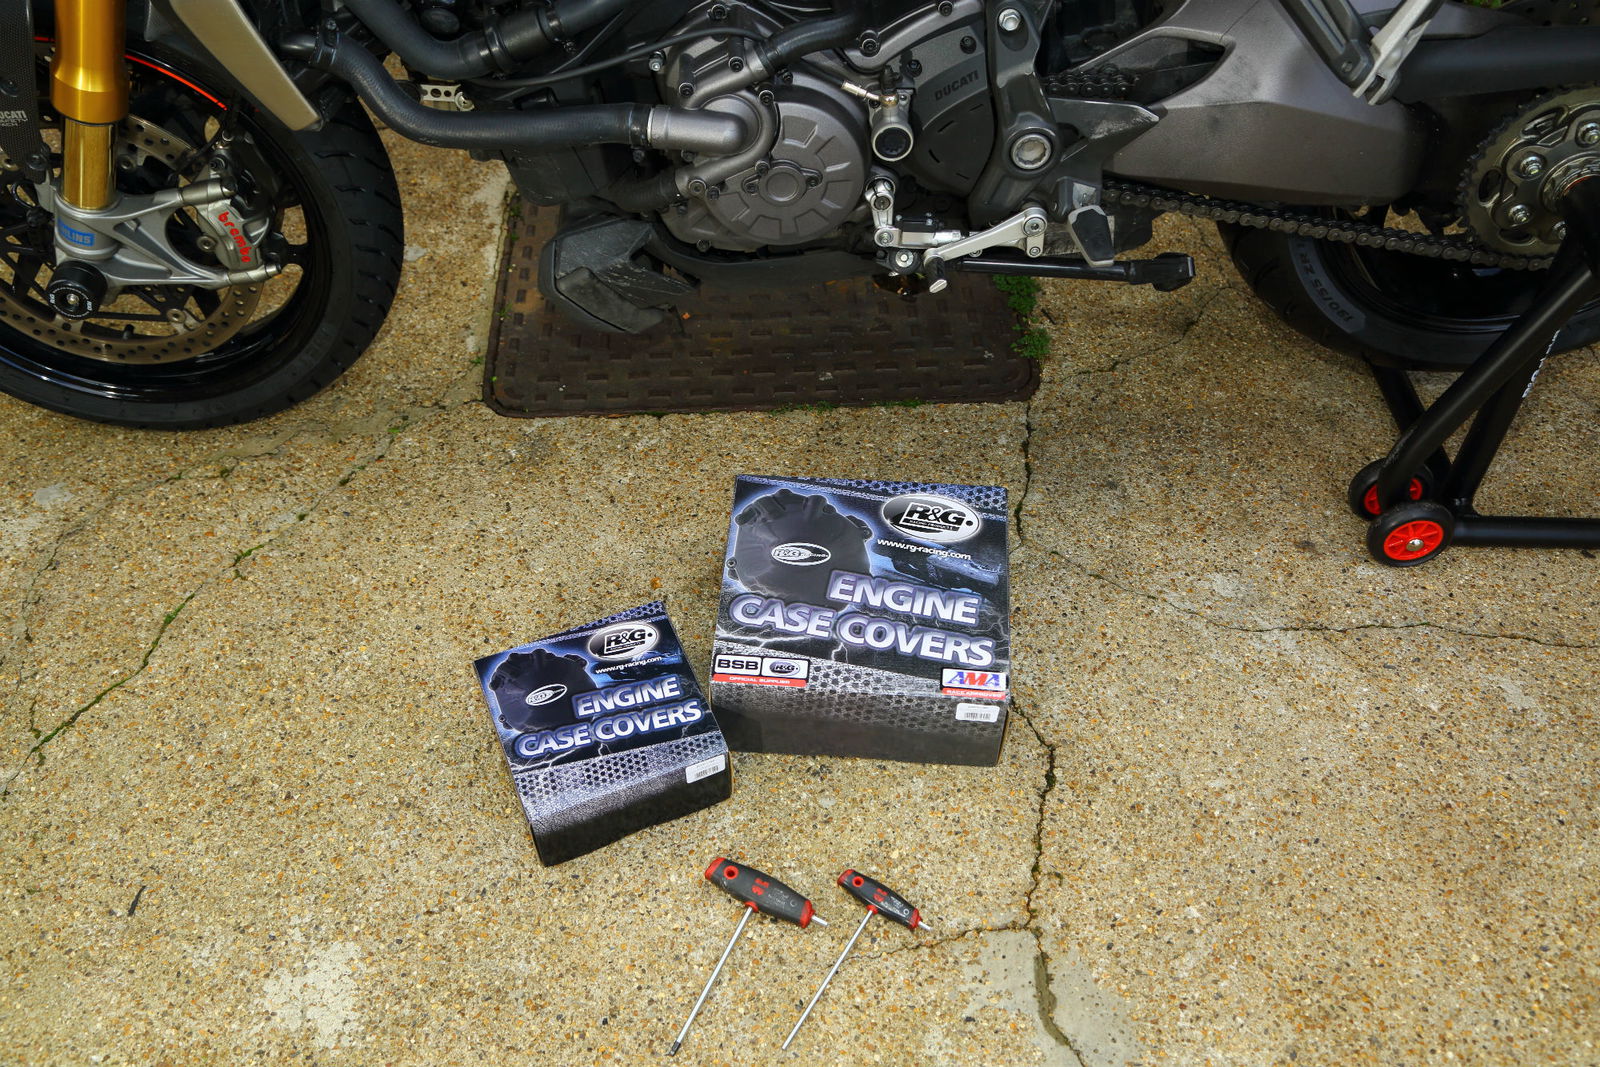
On our long-term Monster 1200 S, we got two covers from R&G – one for the water pump on the left, and one for the clutch on the right. The water pump in particular looks a bit fragile and exposed, so the cover makes a lot of sense there.
The R&G covers use small two-part spacers at the mounting points – make sure you push these in the correct way round. Loosen the specified stock case bolts with a 5mm Allen driver, and position the cover with spacers installed. Fit the longer bolts into the mount holes, and tighten evenly, making sure the cover is located properly before tightening. (Annoyingly, the replacement Allen bolts on the R&G kit uses a smaller sized head, so you need a different tool for those fasteners.)
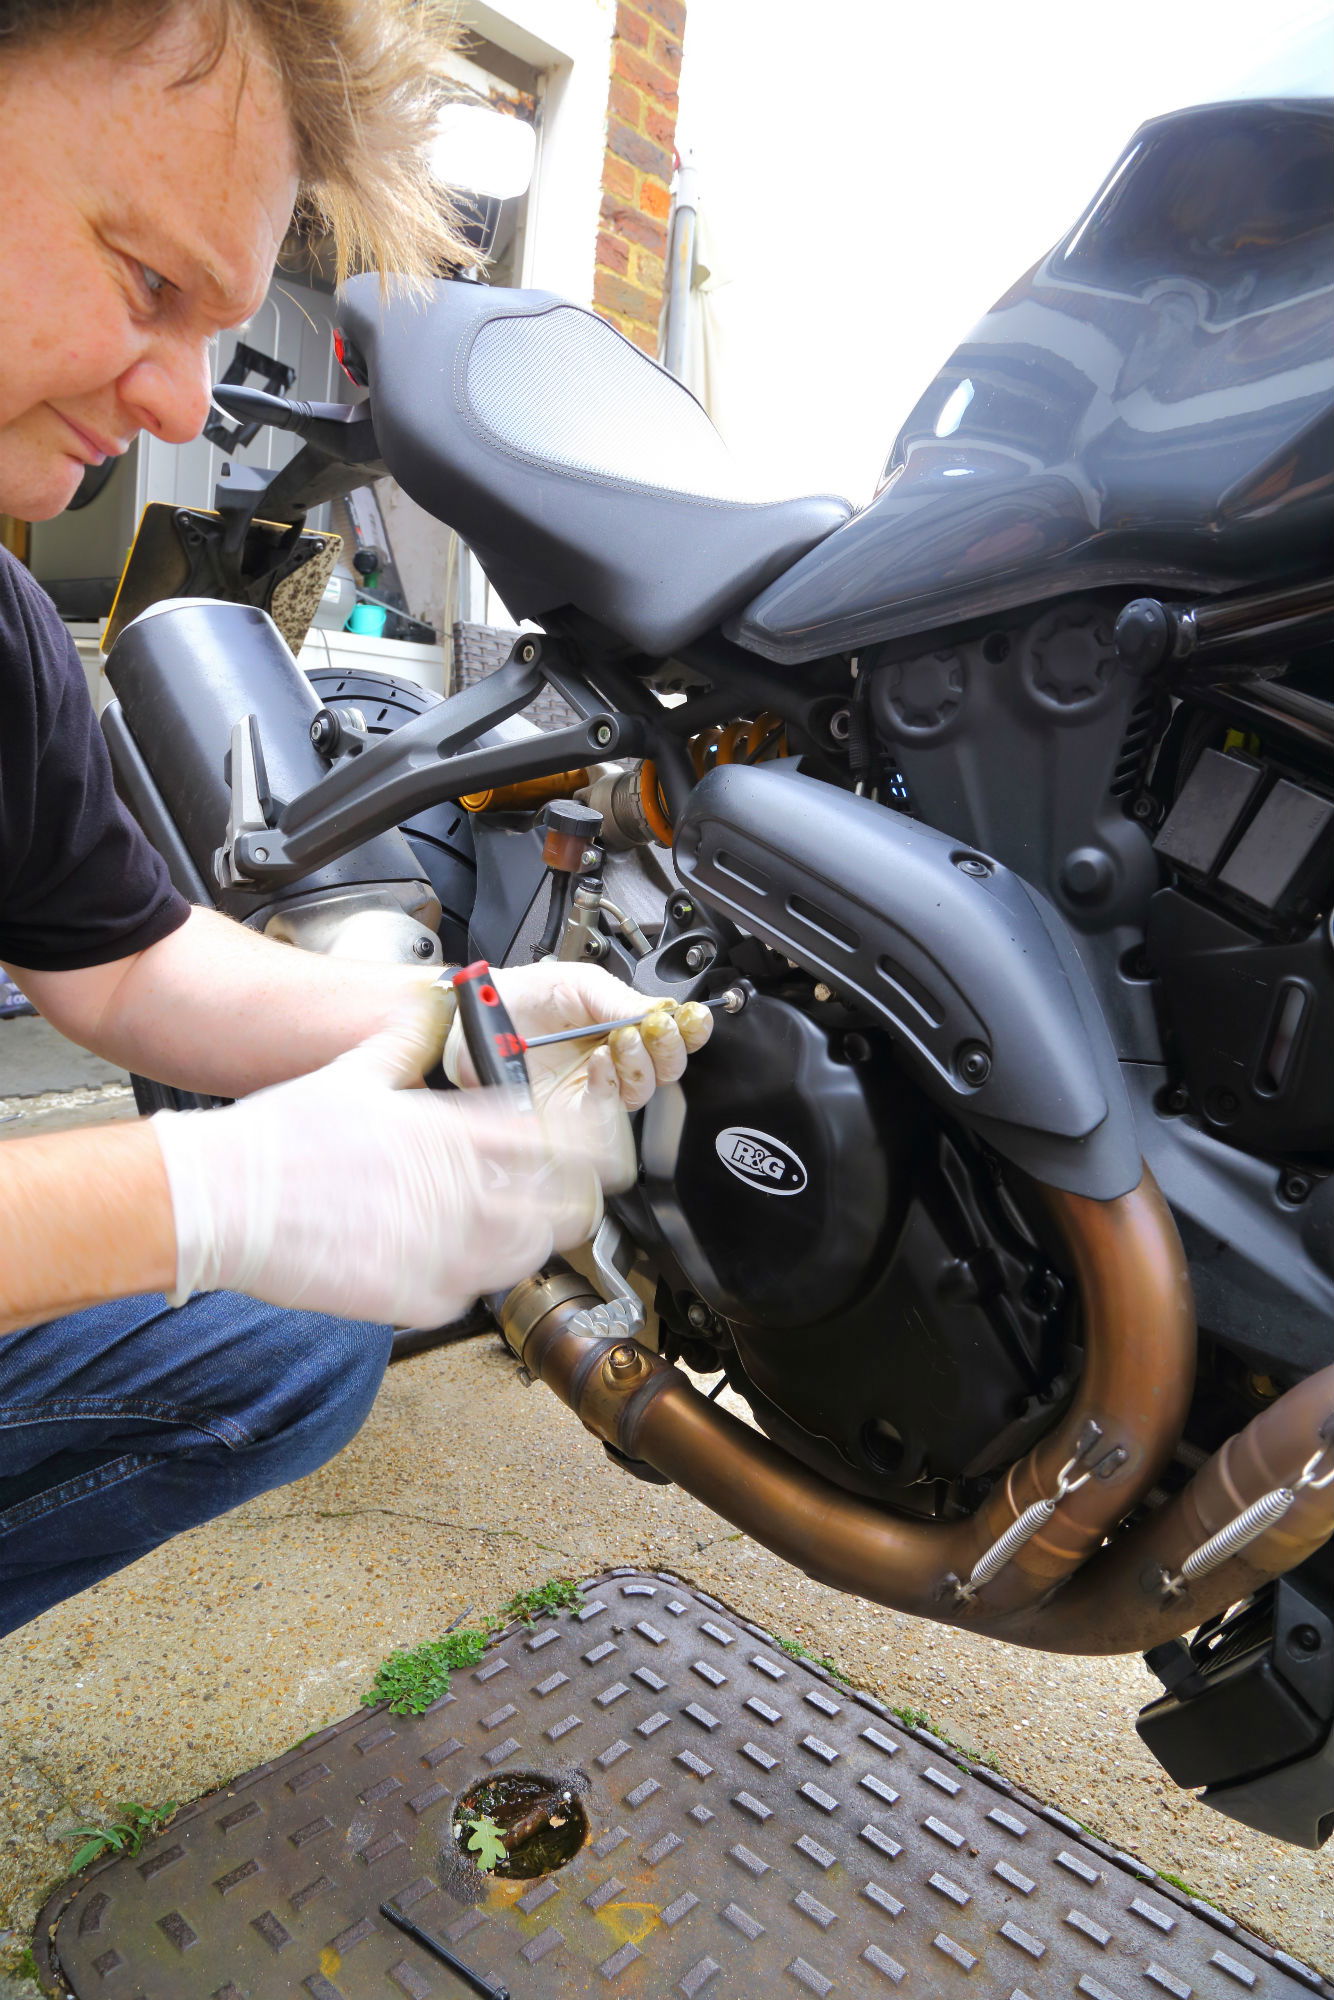
Give your engine a good clean before you start – any grit or dirt will get pushed into the surface, possible scratching or marking it. A few strips of gaffer tape will protect the pristine surface, if you ever want to remove the covers again.
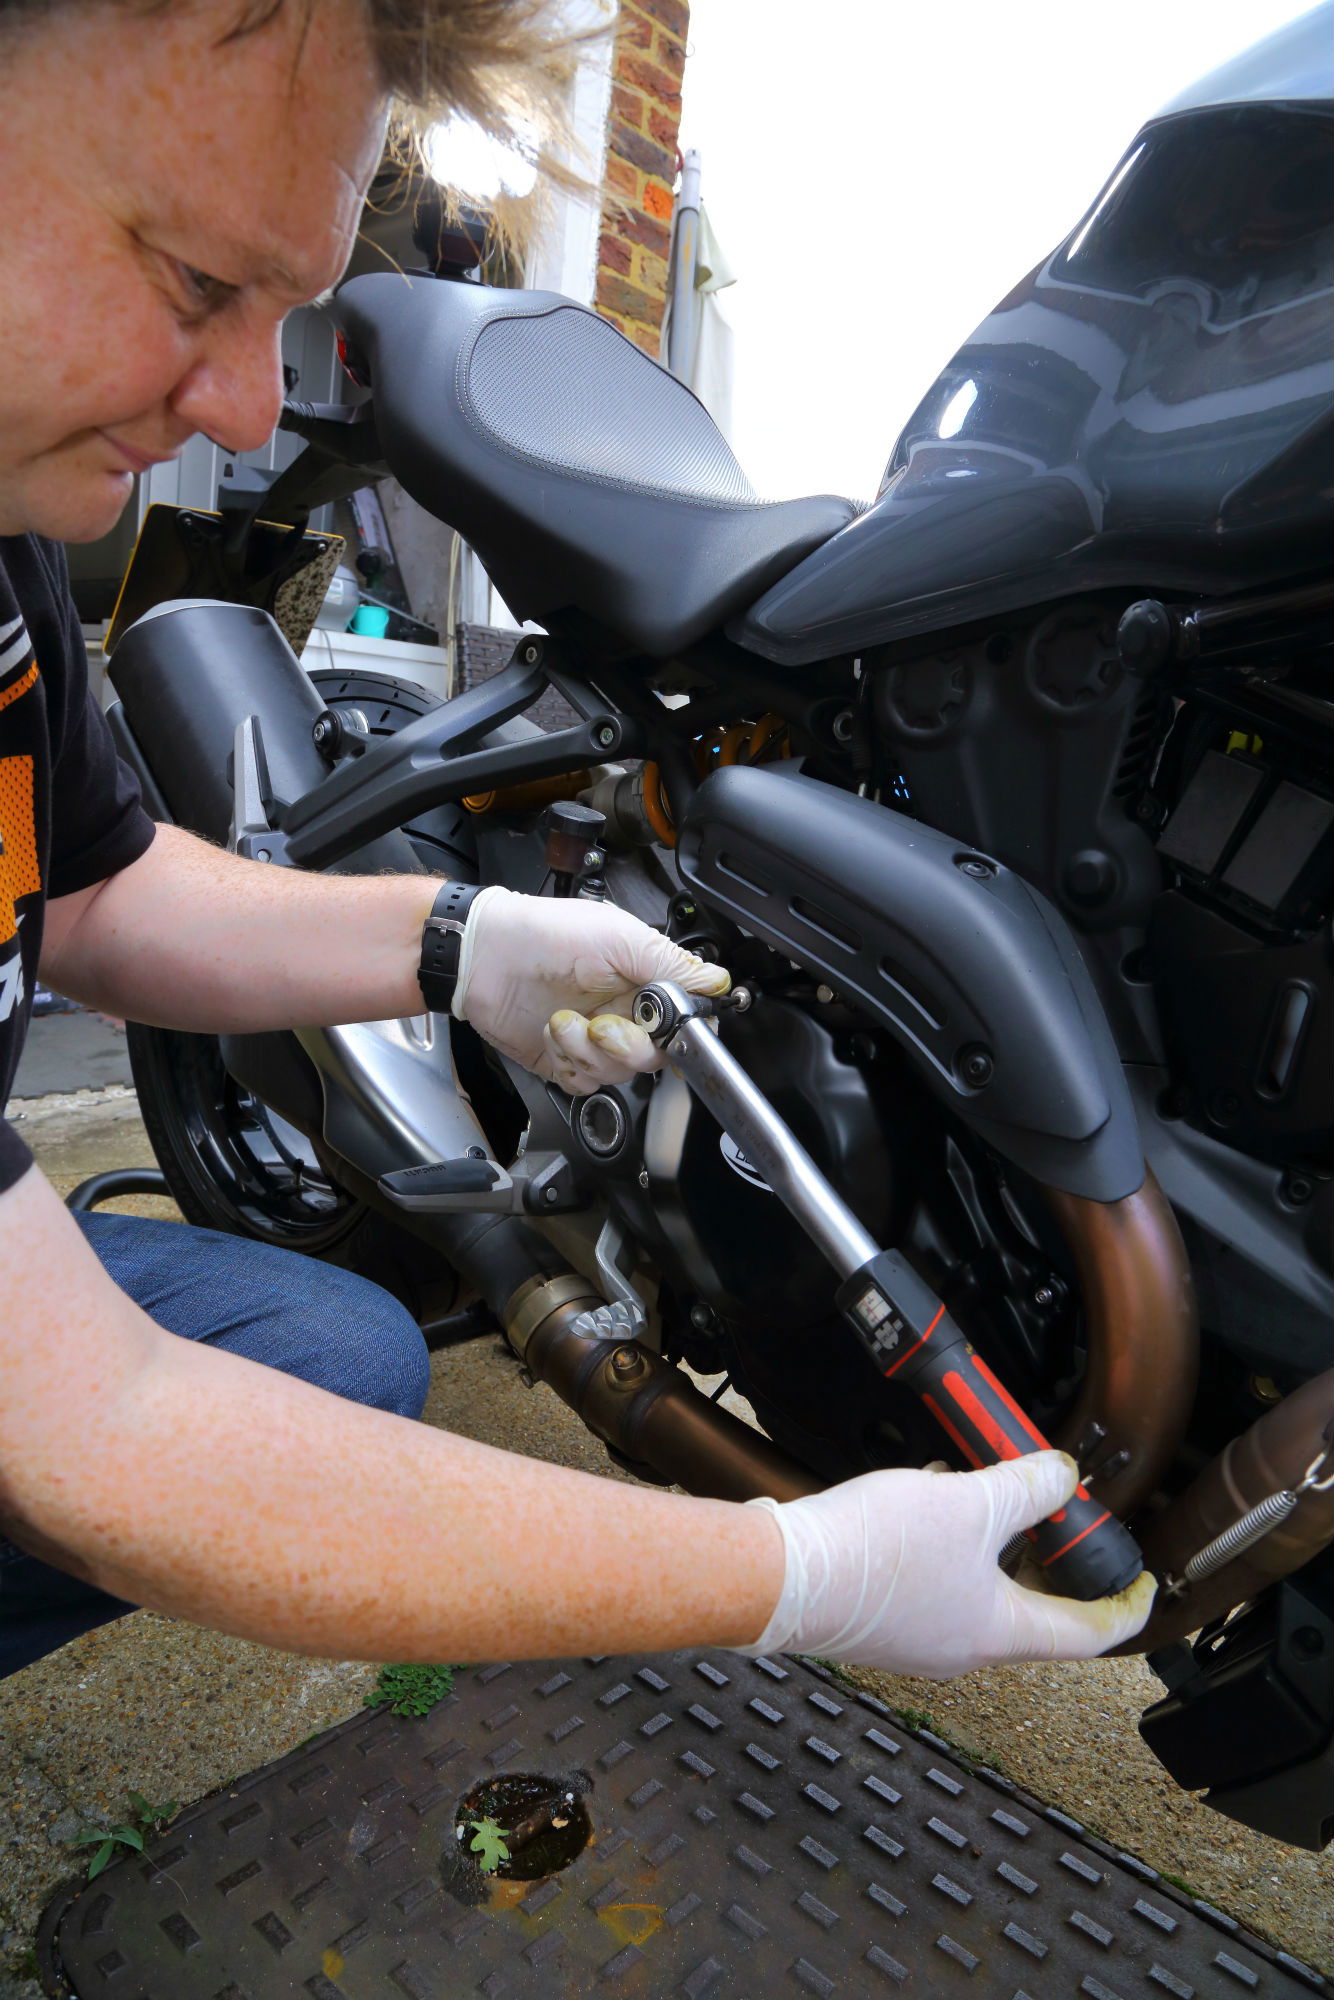
Use a torque wrench to tighten the bolts if you're not an experienced hand with the spanners. Over-tightening case bolts can crack the covers, or worst case, you could even damage the crankcases themselves.
A smear of copper grease on the threads of the bolts will prevent them corroding into the threads.
