Ultimate motorcycling cleaning and polishing guide
The products, kit, tools and equipment you need. Tips to give your motorcycle cleaning the valet touch

| The products used in this feature: Halfords Bug & Tar remover - £3.99 | 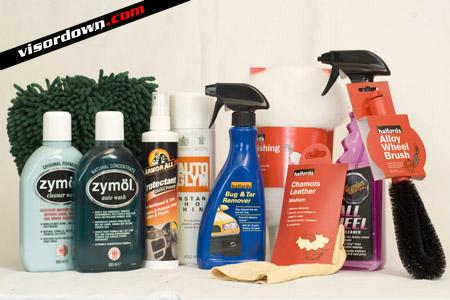 In one hour with this lot, you'll be done |
Link: The lazy biker's guide to cleaning
Link: DIY motorcycle cleaning
Link: Getting rid of bird poo
I used to be rubbish at cleaning my bike and so I hated doing it. But then I watched a professional outfit valet a friend's car and after questioning him on his methods and preferred products, I adopted some of his techniques and my own results improved dramatically. It's not rocket science but with a few simple products and techniques, you will be able to give your bike that just valeted look.
In this feature, I've cleaned my TL1000s, which had been used weekly and - I'm ashamed to say - not cleaned for 4 months. So it's a good benchmark for this feature.
The whole session from start to finish will take you one hour.
Most of us don't have thousands of pounds to buy a full valet setup, so I kept this feature realistic and spent £70 on products from Halfords - as most of us have a local Halfords store, so you can mix and match products to your liking.
No sponges and the 'Two Bucket Rule'
No Sponge
You'll notice there's no sponge in the list above. Why? Well believe it or not, sponges damage your paintwork. A sponge has a relatively flat surface. Grit and dirt become trapped between the paintwork and your sponge and rubbing a sponge across your paintwork drags these tiny particles along too and in doing so, creates tiny scratches. In direct sunlight these will appear as swirls. They're bad and we don't want them, so we opt for a micro-fibre mitt instead. It's not perfect " nothing is " but it has a larger surface area due to its thick pile and no flat face means you'll have less swirl marks from tiny scratches.
Two Buckets
This is such a simple technique, yet I never used to use it. It makes a massive difference. You need two buckets and in one, you will prepare your washing solution, in the other, fresh water. When cleaning the bike, wash out your micro-fibre mitt in the fresh water bucket before dipping it back into the bucket of washing solution. This way you'll wash off a majority of excess dirt into the fresh water, meaning you won't end up cleaning your bike in increasingly dirty washing solution. It's not a perfect technique, but just look at the dirt at the bottom of the fresh water bucket when you're done. There's a lot more than you thought there'd be!
The cleaning process
Pre-wash rinse off
It's a good idea to rinse your bike before going at it with the shampoo. I rinse down my bike with a standard hose, building up pressure using the age-old 'thumb over the end' technique. The front-end of the bike and tail-piece tend to be the areas that accumulate muck, so hose them down first and make sure the whole bike's been lightly rinsed.
Bottoms up
A simple method I use is to start from the bottom of the bike and work up, so with this in mind, we'll start with the wheels.
Wheels
Take your Meguiars Hot Rims wheel cleaner, set the nozzle to spread the spray and give your pre-rinsed wheels a good coating with the wheel cleaner. It really is fantastic stuff and is safe for bare metal, alloys, lacquer, powder-coated and painted wheels.
Wait for 2 minutes and then gently work around your wheels with the Halfords Alloy wheel brush. It's safe for all wheel types but best to not use a lot of pressure. Just run it over the surfaces, agitating the dirt and working it around the hard to reach areas behind the brake discs and close to the hub. When you're done, rinse the wheels with fresh water from your hose. You can wheel the bike forward half-a-turn and repeat the process. Concentrate the spray on areas that have caked-on muck, but as you'll see from the pictures, this wheel cleaner cut through the chain lube that was coated onto the rear wheel with just a couple of applications.
Exhaust
Meguiars Hot Rims wheel cleaner works brilliantly on exhausts. A watered down solution will remove the road muck that builds up on the underside of your end-can. Spray on, leave for a couple of minutes and then rinse off. You can shampoo-clean the exhaust with your mitt once you've cleaned your bodywork.
Bodywork
Removing flies and tar
If, like on my TL1000s, the front end is covered in layer upon layer of flies and the back end has specks of tar and chain lube across it, you'll have a tough job to remove this with shampoo alone.
I use Halfords Bug & Tar remover; it's cheap and very effective. Be careful spraying this around bare black plastics, like the chain guard or speedo unit. Like polish, the Halfords Bug & Tar remover leaves a white stain when it's dry. It can be removed but it's best not to get it onto bare black plastic in the first place. Spray the Bug & Tar remover onto your fly-caked and tar-specked surfaces, leaves for a few minutes and then wipe off with some kitchen roll.
Shampooing
What we're looking to do here is remove the dirt from within the paintwork. I say within, because the finish on your bodywork is very much a three-dimensional. We're looking to get a deeper clean.
Prepare your two buckets, you just need half a bucket of washing solution for each wash. Dunk your micro-fibre mitt into your washing solution. Wash from your bike's highest point, downwards. Look to dunk your mitt into clean water a panel at a time. So you start each new panel with a fresh mitt with clean washing solution. When you've cleaned all your bike's bodywork, rinse off the bike and repeat the cleaning process one more time. You'll really notice the difference of the finish if you take time to shampoo and rinse the bodywork twice.
When you rinse the bodywork for the second time, you should notice the water 'heet' off the bodywork and even on non-polished surfaces, it will bead up. If it does, this is a good sign of well cleaned bodywork.
When you've finished your bodywork, use your washing solution and micro-fibre mitt on your exhaust. You'll just need to remove the grit and you will finish it off later.
Drying
It's important to dry off your bike. Some people recommend a micro-fibre drying cloth over a chamois, but I use a chamois. The main mistake I used to make was to fold up the chamois into four and then scrub at the bodywork to soak up water. You don't need to do this and all you'll do is rub any remaining grit across the surface, causing hairline scratches. Take your chamois and lay it across surfaces like your tank, take it off, wring out the chamois and repeat. On vertical surfaces, you can pat dry the surface, again, helping to reduce hairline scratches. You may be left with a small film of water or a few beads, but this is fine, they'll evaporate.
Polishing
When you polish a painted surface, you're removing miniscule layers of paint and in doing so you're creating a smoother surface, free from scratches and swirls. With a motorcycle's bodywork, unless you're very skilled with a polisher, it is best to polish by hand.
You could make this process take longer by working in a dedicated polish and then applying a wax/sealant, but after trying this myself, I could not notice much difference. The Zymol cleaner wax is seriously good stuff, giving the bike an incredibly deep, three-dimensional shine.
I've chosen Zymol cleaner wax to accompany the Zymol car shampoo used earlier. It's now strictly a polish, but it is a wax polish, and by far the best one I've used to get a deep shine.
Put on your Halfords polishing mitt and apply a small amount of Zymol cleaner wax. Spread it out a bit with your fingers so you've got a nice thin coverage about the size of a Jaffa cake (first thing that came to mind!). Work one panel at a time, rubbing the Zymol across the surface in a circular motion. Use light pressure and stop once the panel has been covered in a thin layer of wax. This wax will dry out very quickly. As each panel is drying, move to the next panel and apply Zymol again. Then, turn over your polishing mitt and buff out the Zymol with the cleaner side. Buff in a circular motion, applying light pressure until all trace of Zymol has been buffed out. You can apply a panel and then buff a panel until you've finished the bike.
Getting the black back
Plastics
Faded plastics and oxidised metal surfaces really age a bike, but they're so easy to restore to showroom fresh. For plastics; switchgear, clocks and tail-tidys, simply use Armorall protectant. I spray this onto kitchen roll and rub onto the surface. You'll need a couple of coats until the surface appears wet. Lightly buff it in using dry kitchen roll and you'll bring a deep black back to your plastics. Be careful using this on your seat; it's great at refreshing it, but it also makes it incredibly slippery. Leathers and a freshly Armorall'ed seat make for interesting wheelies.
Refreshing metal
Fork stanchions, frames and rearsets all oxidise to a dull finish but as this happens very slowly, it's hard to notice. I apply a small pea-sized amount of Autosol to some old T-Shirt rag and smear it thinly across the clean, dry metal surface. Leave it for a minute and then buff out. For best results, use a forward-backward motion, rather than a circular one. Autosol is fairly coarse and you only need to apply a minimal amount. Check your rag to see when it goes black, then move onto a new section. You don't need to spend ages working in and then polishing out. A typical beam frame or pair of exhausts should take 5 minutes to do.
You're done.
Future care
Once your bike is washed in this way, you'll spend less time keeping it clean. With the Zymol cleaner wax, the surface is sealed and protected. After a ride, you will be able to rinse down the bike to wash off surface grit and retain the shine. You can use the Autoglym Showshine to give an instant gloss. When water stops beading up on the bodywork, it's a sign that you could do with a fresh wash and re-application of wax.
Three things to avoid
Pressure washers. I don't use a pressure washer. Apart from being incredibly lazy, they're just not necessary. You're cleaning a small surface, not the side of a boat. Using a pressure washer is a bit like turning up to an Archery competition with a sawn-off shotgun. You want more precision for a better result.
Sunlight. Wash, dry and polish out of direct sunlight. The sun speeds up the drying process, before you can properly finish each stage. Try and move your bike out of sunlight and your entire job will give better results.
Washing up liquid. It's not going to end the world, but it will attack the finish on your bike, breaking down waxes and sealants. It's not designed with bodywork in mind, save it for the dishes. Washing up liquid also contains salt.
Image Gallery
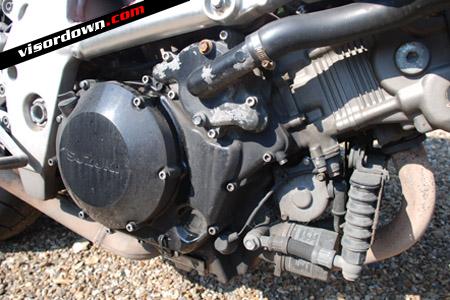
It's seen better days
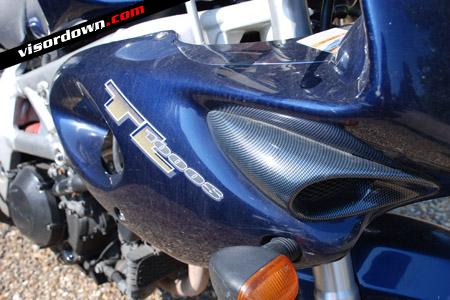
Cobwebs, dust, road muck ... it's all going to go
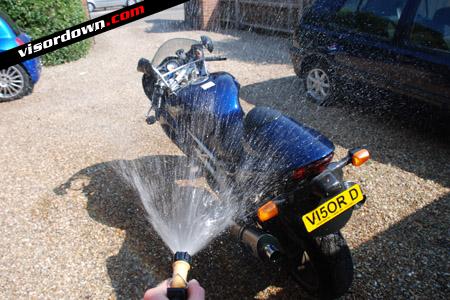
A pre-rinse wash
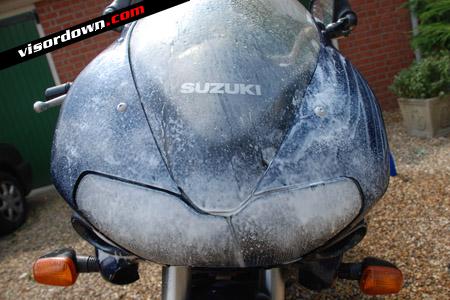
Bug & Tar remover shifts dead flies
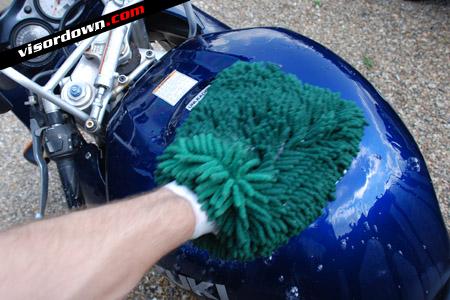
Ditch your sponge for a wash mitt
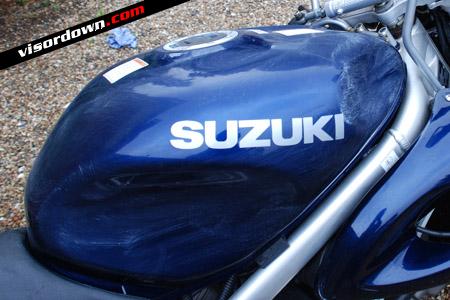
Zymol cleaner wax drying on the tank
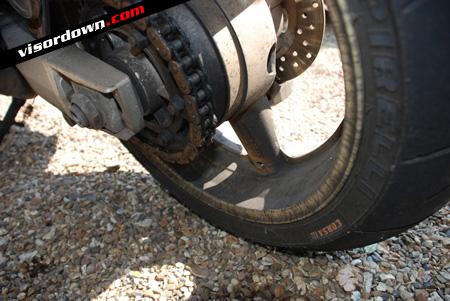
Before ... dirty
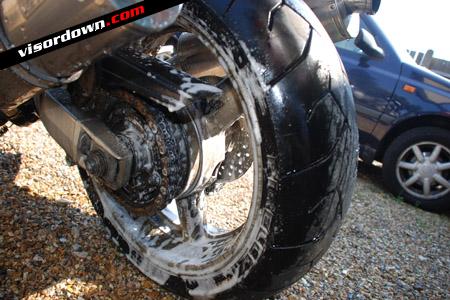
During ... soapy
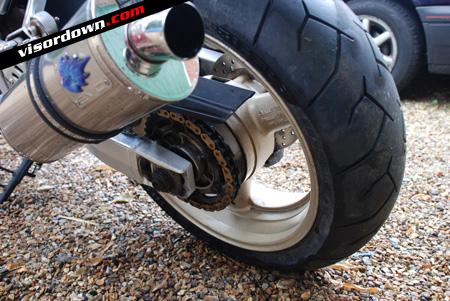
After ... shiny
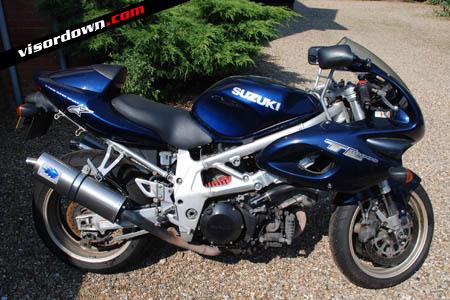
Before
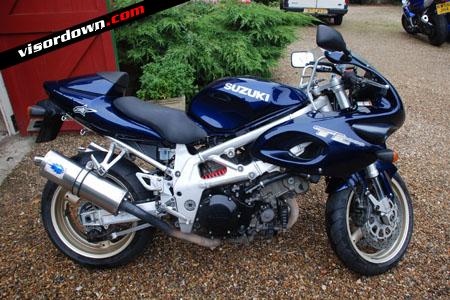
After


