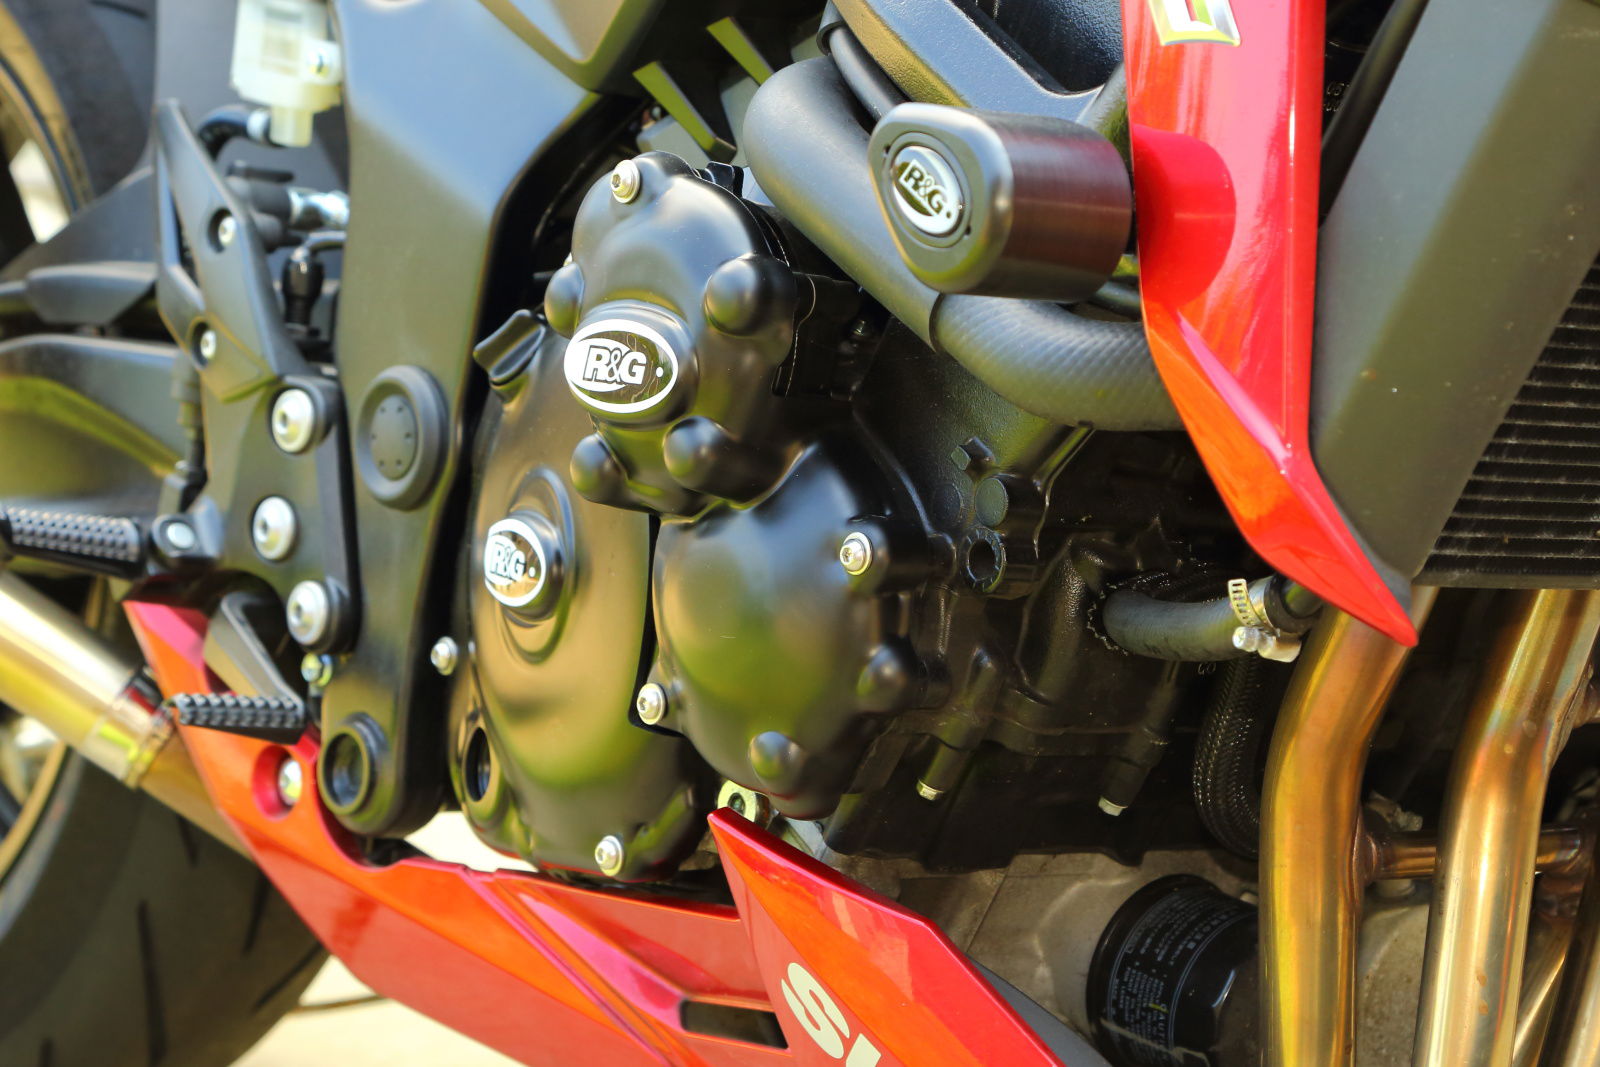
Safer GSX: R&G crash protection kit fitted
Our long term test Suzuki GSX-S750 gets some accident prophylaxis

There are a few things I like to do every time I get a new bike to test (or, heaven forfend, buy myself). First is usually an exhaust, for better sound and less mass, plus the odd horsepower or two. Second is better tyres. And third is a suite of crash protection gizmoids, to help guard against the inevitable.
I don't crash bikes as much as I used to when I was younger of course, but there are still the odd slow-speed drops, paddock stand snafus or gravel carpark mishaps to think about. A few pennies invested in some crash mushrooms, engine case covers and fork protectors will pay off in spades should your bike come a cropper. Indeed, I've seen a set of modest frame bobbins prevent any damage at all in some quite fast crashes.
I'm a fan of R&G stuff. I've used it a lot over the years, and it's always well-made, properly designed and simple to fit. So a quick phone call and I got a box of tricks for the GSX. Twenty minutes this afternoon saw a pair of crash mushrooms and fork protectors bolted on, with case covers and more to come later this week.
The GSX-S750 crash bungs are about the easiest fit you'll get. The Suzuki has easy access to the engine mount bolts, so there's no plastic to come off, or extra bracketry to fit.
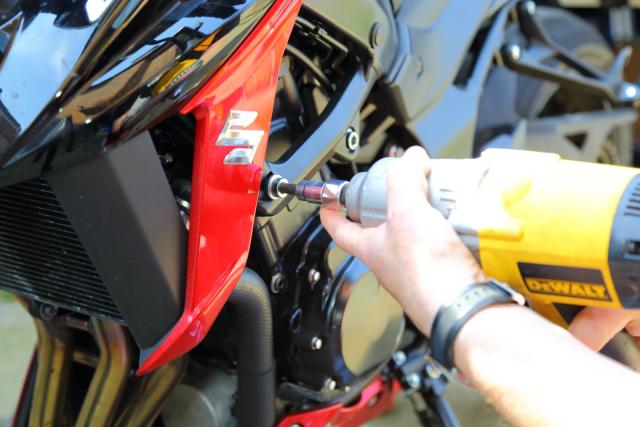
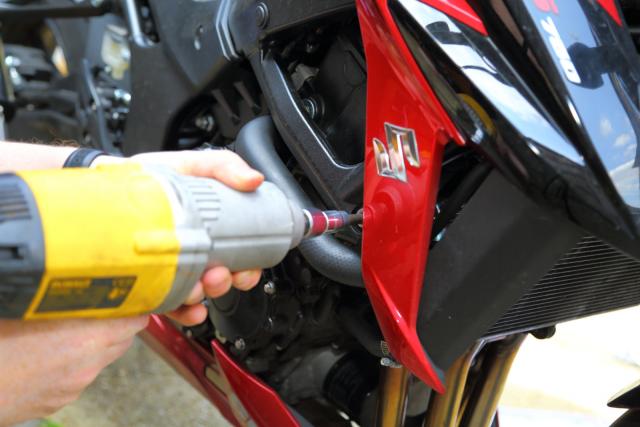
First - get an 8mm Allen bit, and remove the standard front top engine mount bolt. I used my DeWalt impact gun for speed, but any ratchet or driver will do the same job.
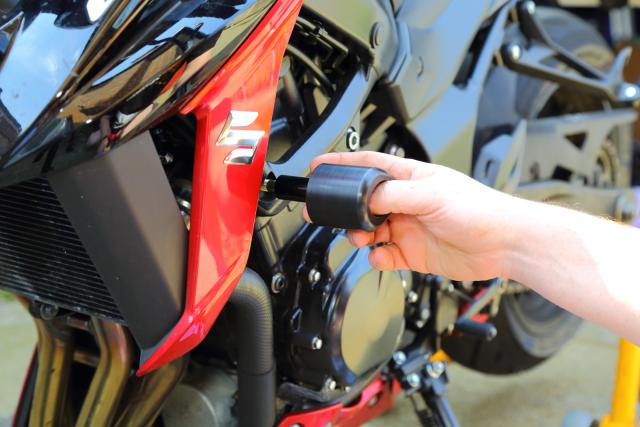
Next, put the R&G crash bung bolt through the mushroom, making sure the plain and lock washers are in place. Slip the spacer on, making sure the flared end is towards the mushroom. If you want, you could smear a little copper grease on the threads, to keep it corrosion-free. The lock washer should stop anything coming loose, so probably no need for thread lock. Offer up to the engine mount, and start the bolt by hand.
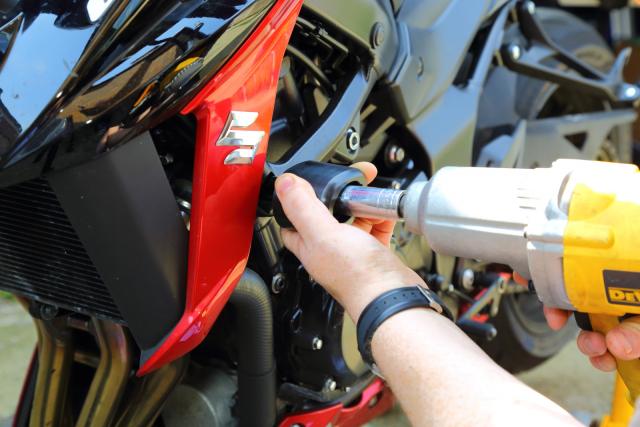
Once it's started, tighten up gradually with a ratchet (or very very carefully with an impact gun...). Once it starts to tighten up, get your torque wrench, and finish off to 40Nm. Make sure the mushroom is pointing the right way - fat side forward. I like a slightly downward, rakish angle, but the OCD out there will want a 180° layout I imagine.
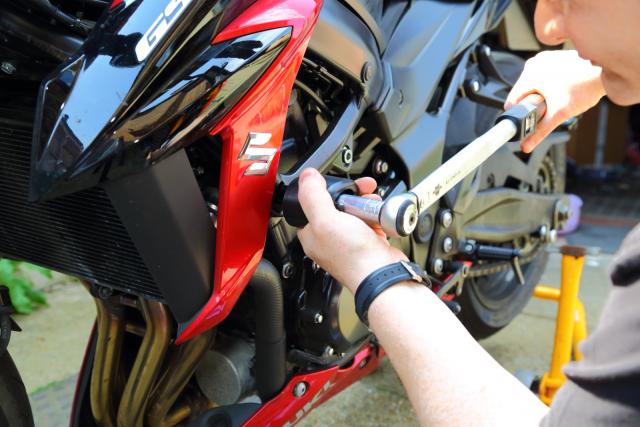
Pop in the little trim cap, and you're done for that side! Now, do the same on the other side. Some protector kits have 'handed' sides, with different components for left and right - but these ones are totally symmetrical. Bosh.
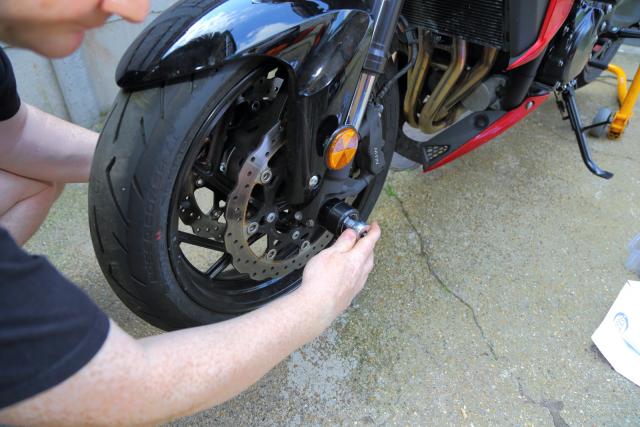
With the engine/frame bungs on, I turned to the fork bottom protector. This is there to stop a small spill wrecking the fork bottoms, which is easily done. Even if they don't get badly damaged, it looks rubbish to have alloy scraped and torn off. The R&G protector is dead simple: a thin stainless steel rod through the hollow front axle, with machined alloy and engineering nylon bobbins on each end, shaped to fit over the axle and nut. A pair of 13mm nyloc nuts holds it all in place.
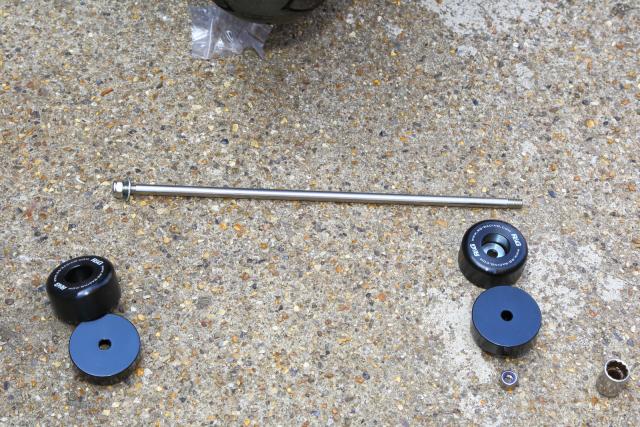
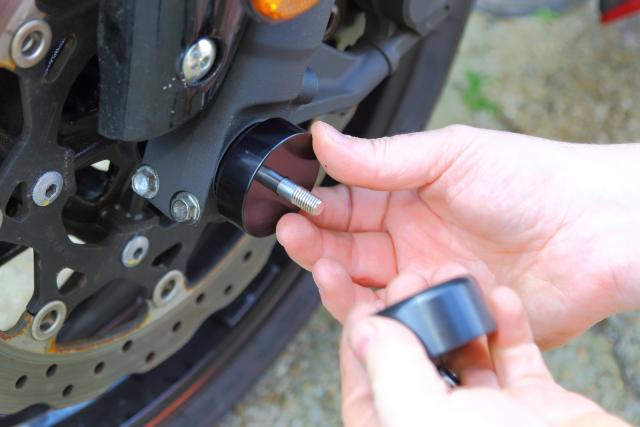
Remove one side, making sure you have the correct end on the axle nut, and slip the bar through. Put the other side on, thread the nyloc nut on, then use a pair of ratchets or spanners to tighten up. Make sure both sides are threaded through to the nylon locking part of the nut, and you're done.
The crash bungs cost £70 for the GSX-S750, and the fork protectors cost £35.
CLICK HERE FOR PART TWO OF THE CRASH PROTECTION FITTING!
More info: www.rg-racing.com

