How to Fit Galfer Moto High Performance Discs
We upgraded from stock Suzuki discs to Galfer Moto high-performance wavey discs on our SV650, here's how we got on...

WITH the wayward and aging discs on my SV650S no longer cutting the mustard, I decided to try out a set of Galfer high-performance wavey discs for my '09 commuter. And being a cheapskate I fitted them myself with my best pal as spanner monkey number two. It’s mega simple, but if you're not sure about what to do, here's an outline of how to do it, what to look out for, and how they look after installation.
Available from: http://galfer.eu/index.php/en/galfer-moto
Although every bike is different the process is much the same to swap rotors over, just follow these simple steps and you can't go wrong. If you don’t feel confident doing the job call up your local mechanic and get them to do it instead.
Quick installation video:
Fancy upgrading your braking system?
Before getting loose on the tools
Things to make sure:
Right tools for the job (especially front axle tool and torque wrench)
Front and rear axle stands
You have ordered new disc bolts and have blue lock-tight
Leave yourself plenty of time, don't rush
Plenty of tea/coffee
Front discs
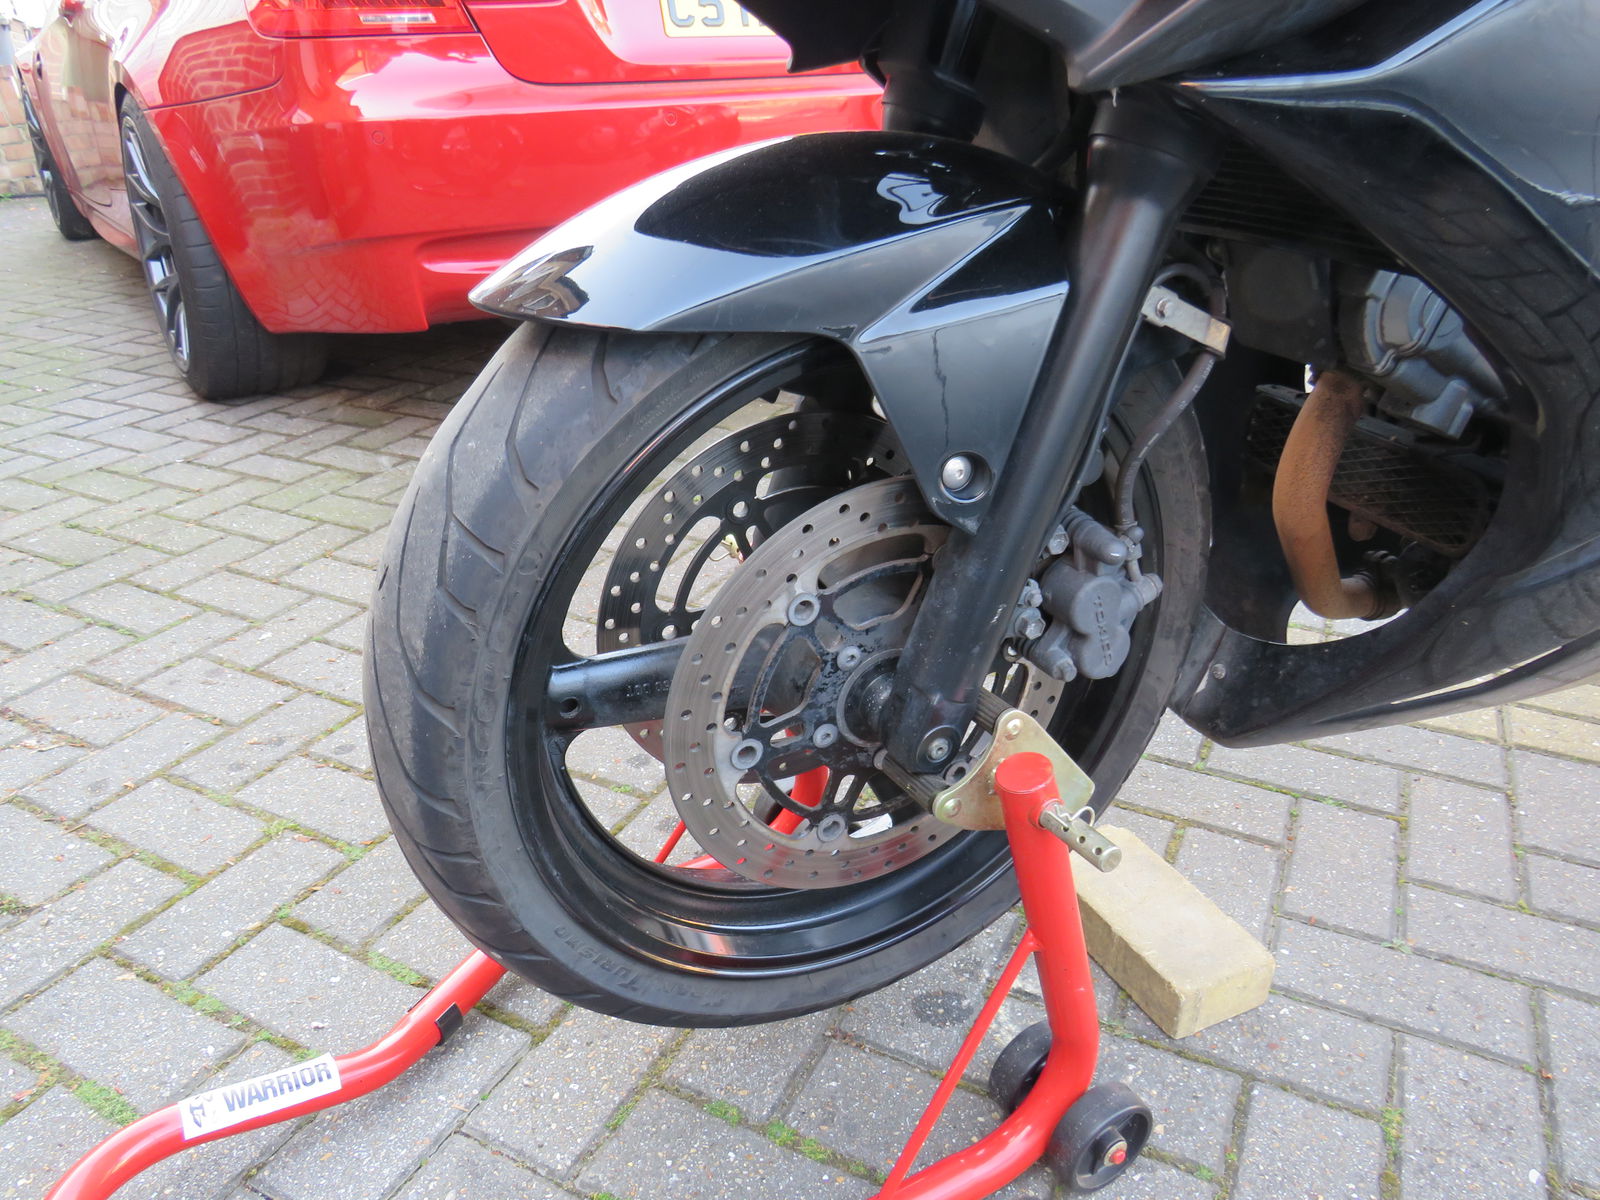
Before mounting the bike in the axle stand undo the pinch bolt(s) on front axle and loosen front axle bolt with ½” breaker bar. Also, open front brake reservoir, undo brake caliper bolts and remove calipers from the discs.
Once everything is loose lift bike up on paddock stand. Holding the front wheel with one hand (so it doesn't drop out and damage speedo) fully remove axle spindle and carefully take out the wheel.
IMPORTANT: Don’t leave brake calipers hanging loosely, cable tie them to fork so hoses don't stretch whilst you change the discs.
With the wheel loose, crack open and remove the disc bolts in a criss-cross pattern. The bolts are lock tighted and will need a little persuasion with a normal hand-sized ¾” breaker bar, just don’t swing on it like a monkey!
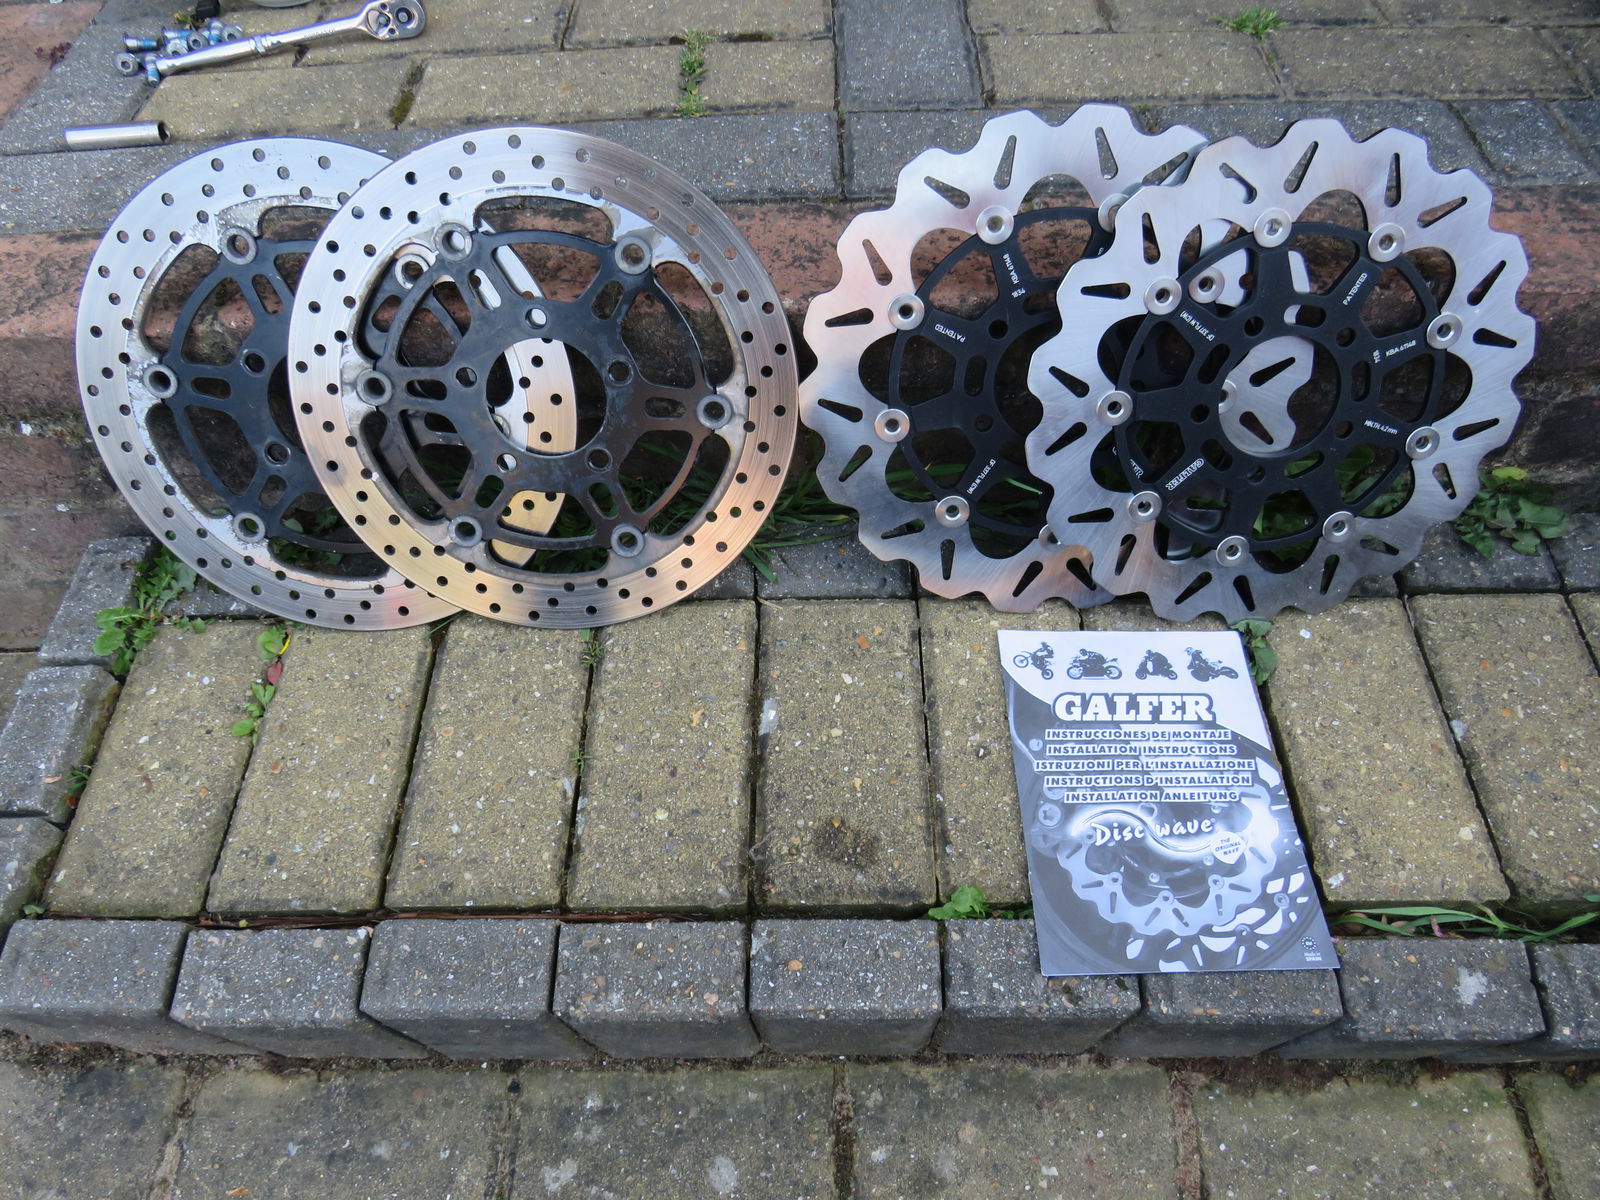
Before removing disc take note of their orientation and which side the writing is, then simply swap the new Galfer item for the old knackered one.
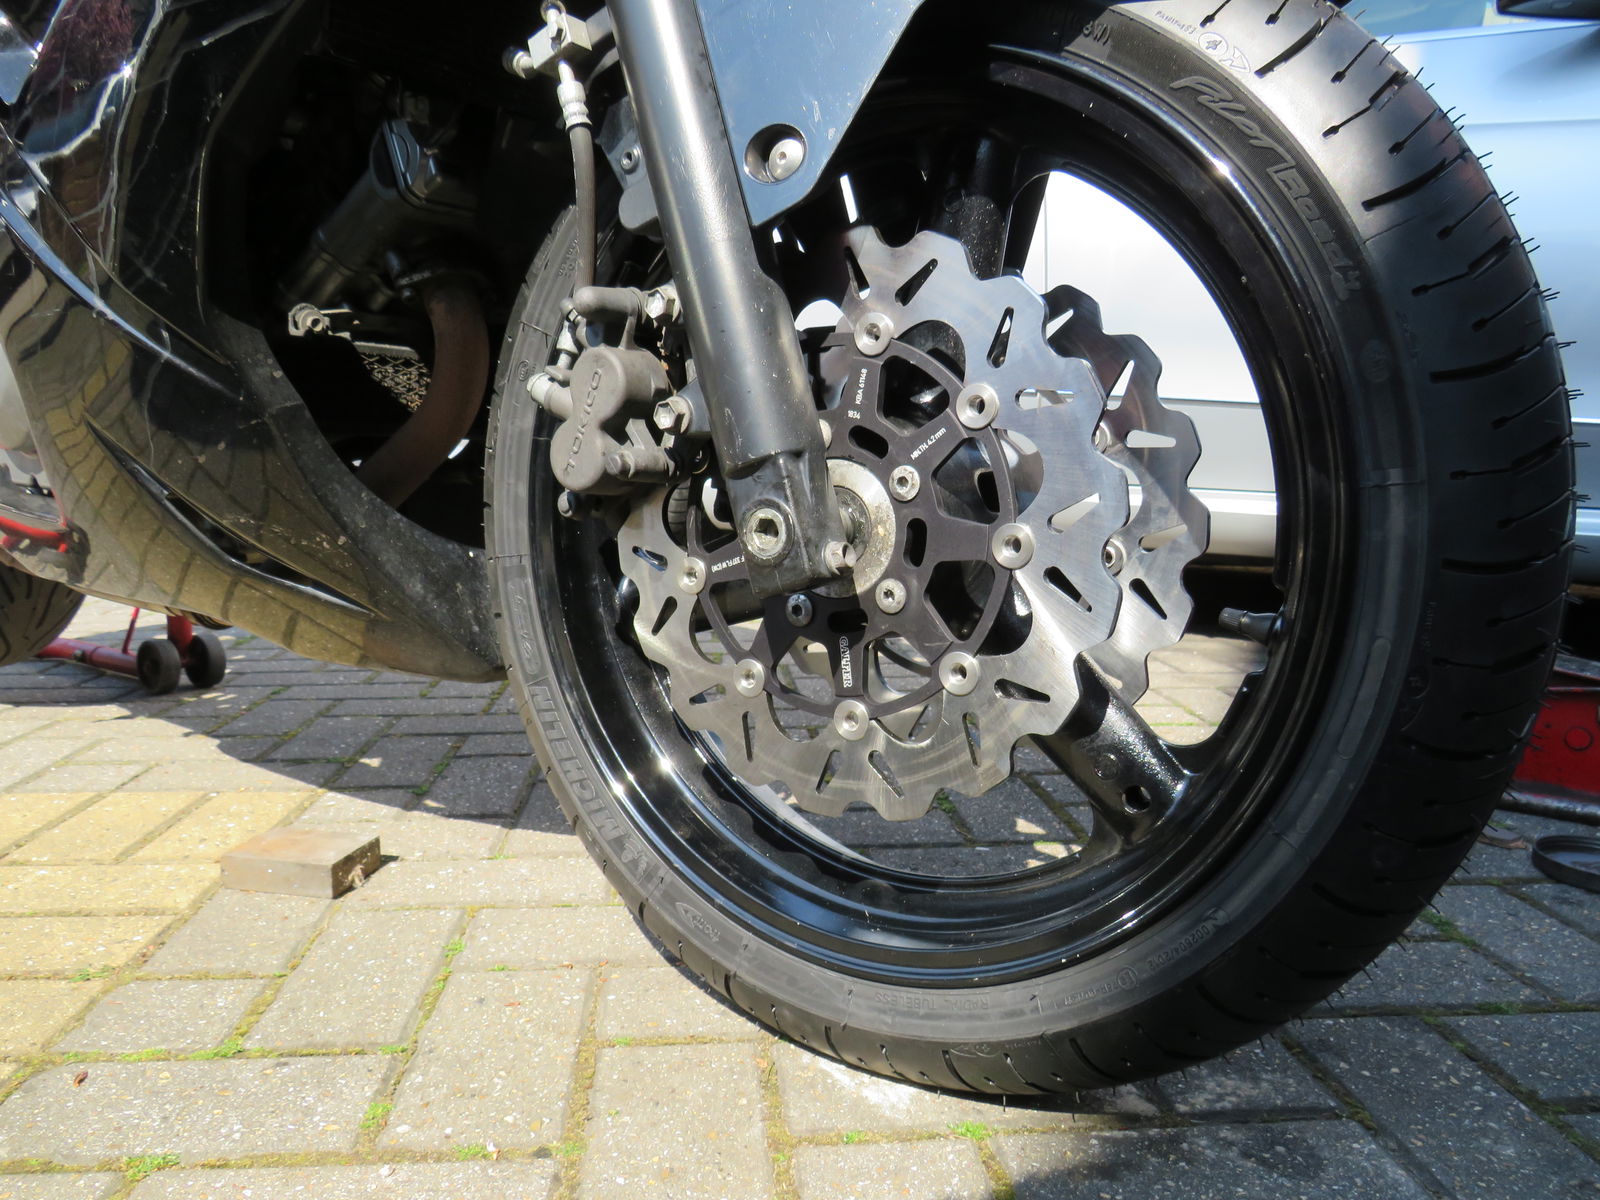
6. Grab your new bolts and blue LOCK TIGHT them in place, to a torque of 23NM (could vary depending on bike) in a criss-cross pattern. Double check they are torqued up correctly before reassembly, as you really don’t want these suckers coming loose.
7. Push back brake caliper pistons using a G clamp to make fitting calipers easier (now is also a good time to change brake pads).
8. Next, reinstall the wheel onto the forks. Refit calipers, make sure speedo is seated correctly and tighten caliper bolts, axle spindle, and pinch bolt(s) to correct torque (check manual).
9. LAST BUT NOT LEAST pull the brake lever 15-20 times to reseat the brake caliper pistons and then refit reservoir cap. If you don’t do this step you won't have any front brakes at first pull of the lever!
Rear Disc
Before mounting the bike in the axle stand, loosen the rear axle bolt. Also, open rear brake reservoir cap, undo brake caliper bolts and remove the caliper from the disc.
Place the bike onto the rear axle stand. Before removing wheel take a picture of the rear spacer orientation (they will drop out as you remove the rear axle).
Loosen chain adjusters, push the wheel forward and remove the chain from the sprocket. Holding the rear wheel with one hand remove rear axle spindle and slowly remove wheel out of the swingarm.
With the wheel free, take note of disc orientation and remove rear disc bolts with hand-sized ¾” breaker bar. Replace with new Galfer disc and make sure orientation matches the old one.
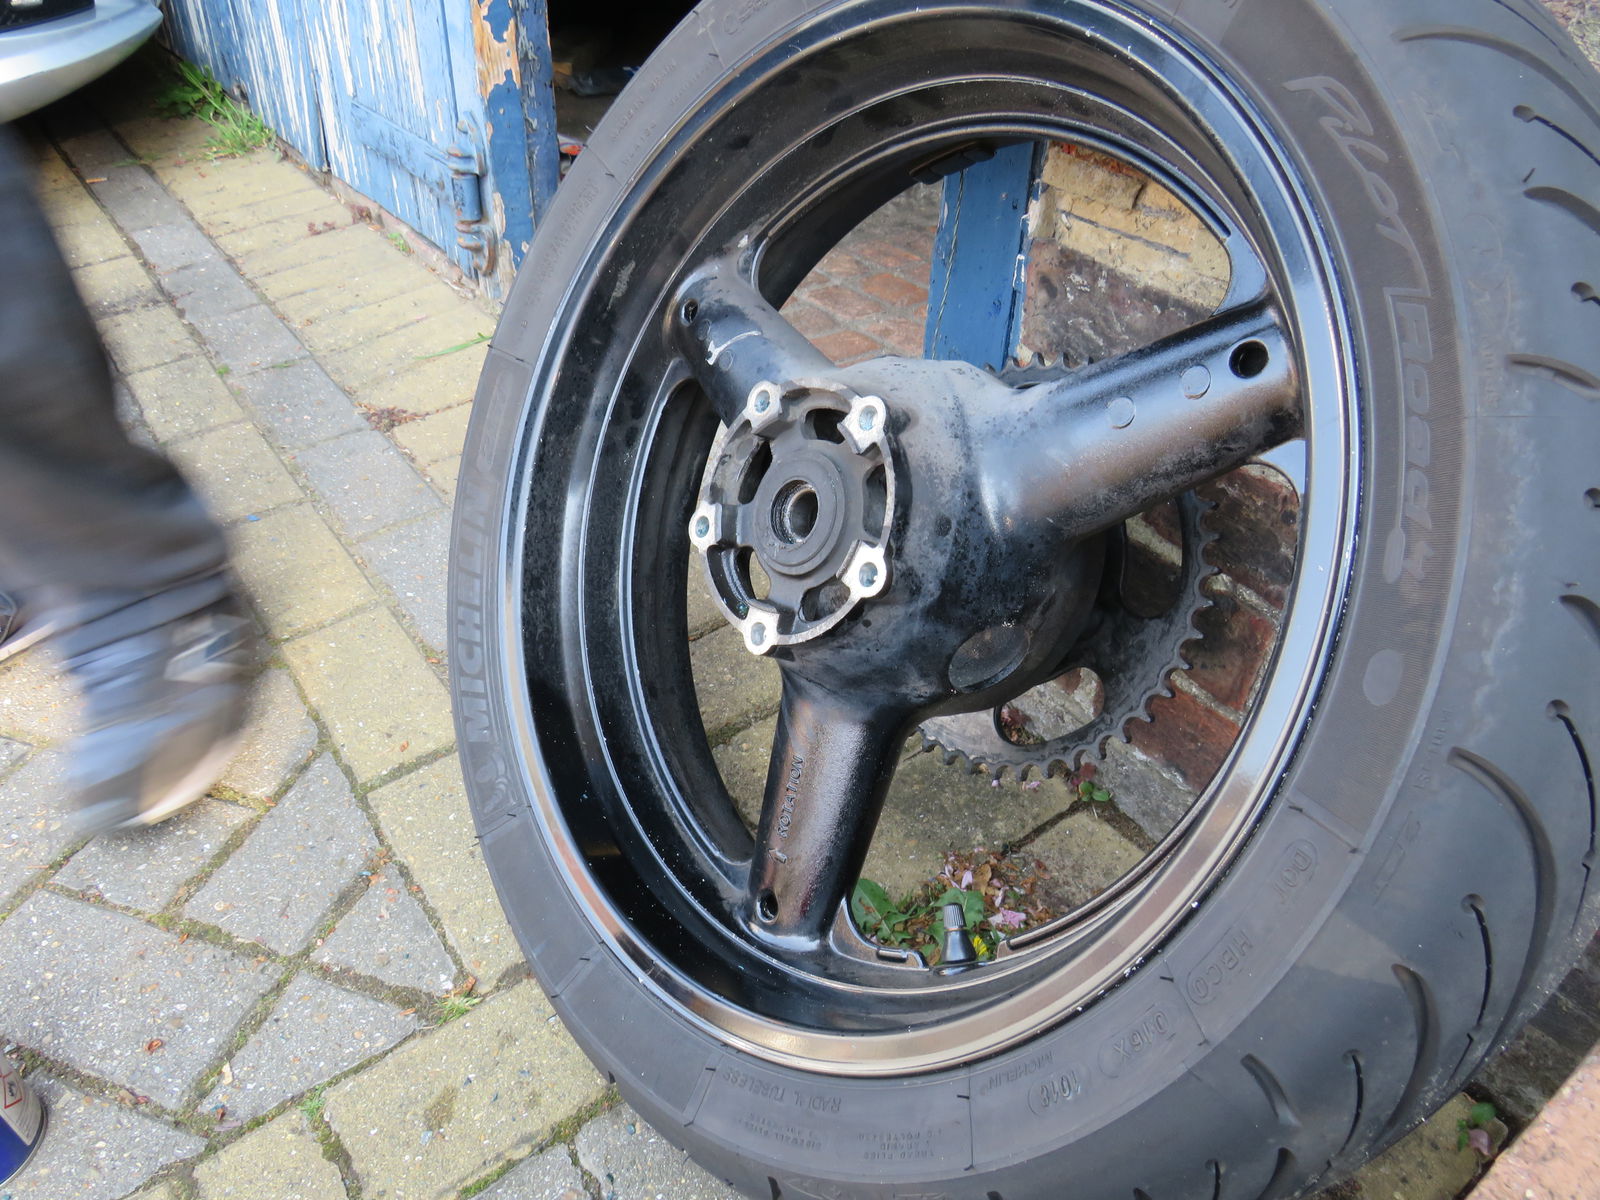
5. IMPORTANT: Blue lock tight new bolts and torque them correctly (check manual). Double check torque before re-installing the wheel.
6. Push back brake caliper piston using a G clamp to make fitting caliper easier (now is also a good time to change brake pads).
7. This part is a proper faff on the SV650, but place spacers in the rear wheel (check picture from before) and re-install the wheel. It might take a couple of attempts but be patient you’ll get there.
8. Check everything is lined up correctly, and refit chain over sprocket. Then place rear caliper over new wavey discs and torque bolts correctly (check manual).
9. Set chain tension (normally 1.5-2 inches of play and tightest point). Make sure wheel is straight then tighten down axle bolt to correct torque.
10. Finally, press the rear brake lever 15-20 times to reseat piston and recover reservoir cap.
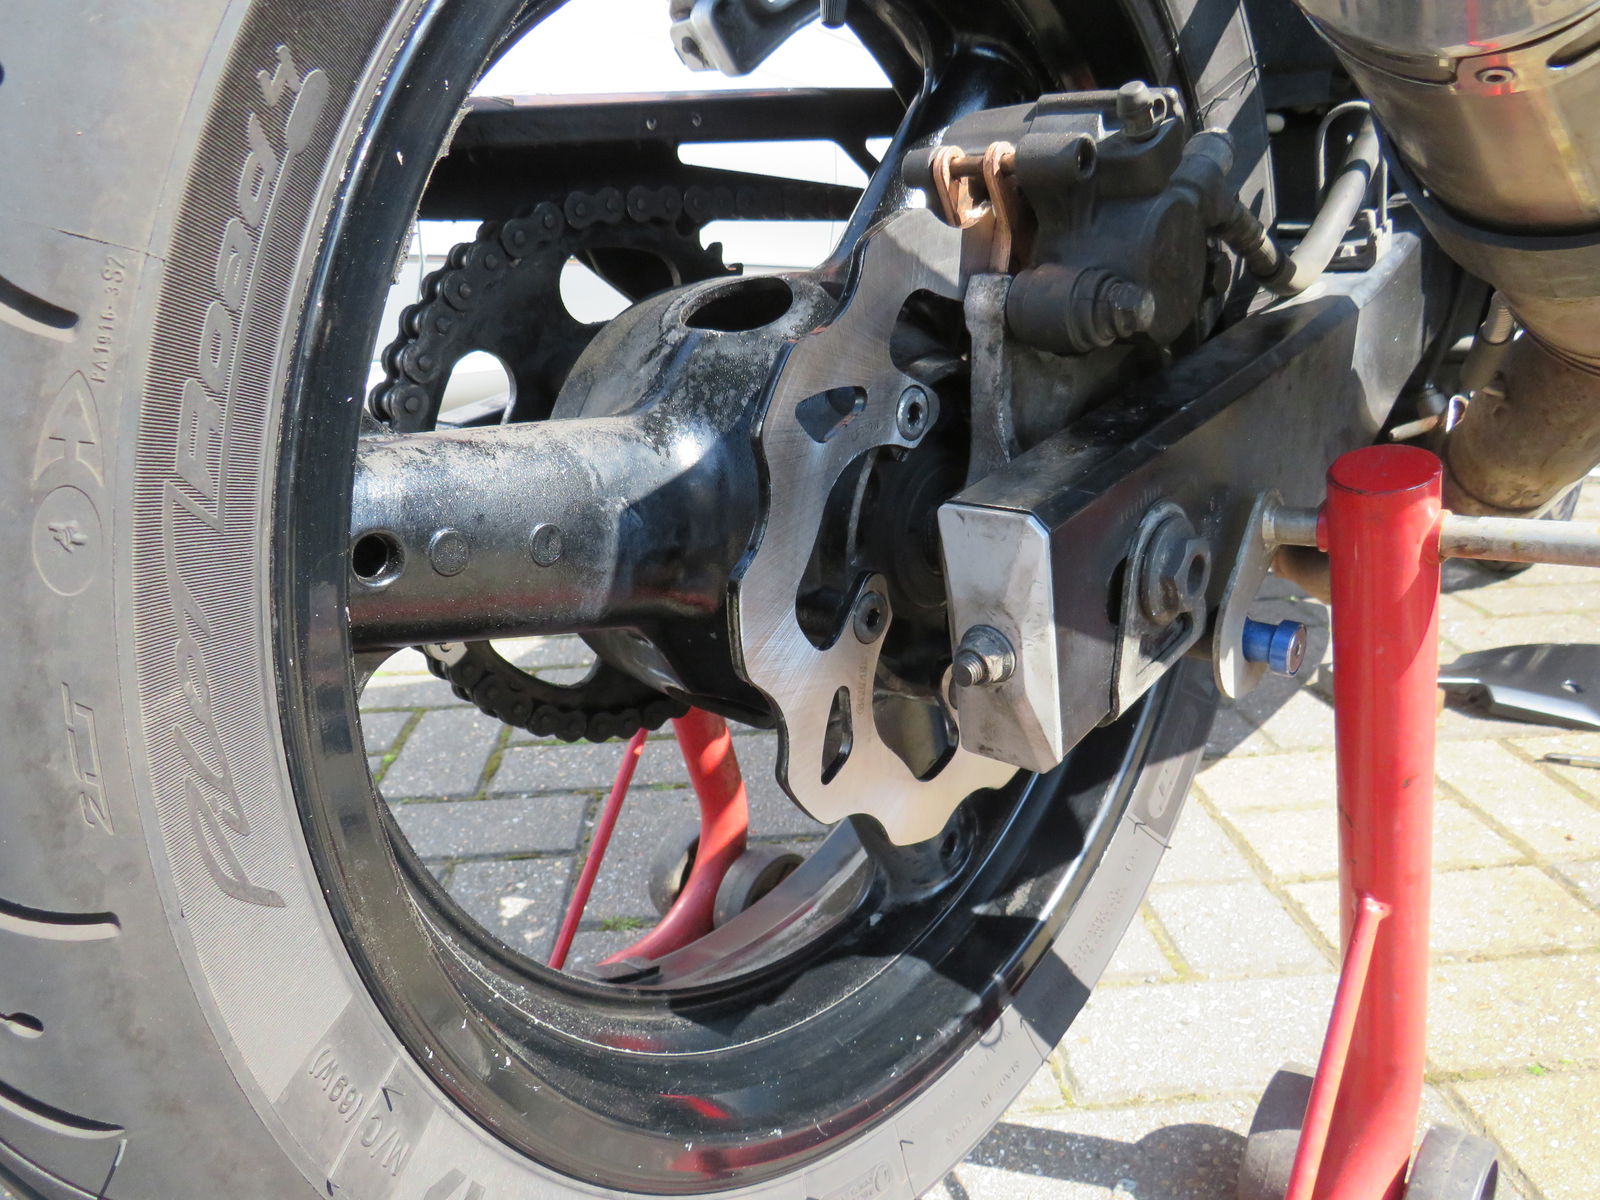
Final step
Just remember to bed in the discs and pads in before going full beans into a hairpin, go for a short slow ride to make sure everything is alright. Then, once you’re back home double check all the bolts are still at the correct torque. Then, the job's a gooden!
Find out more: http://galfer.eu/index.php/en/galfer-moto
Sponsored By

Britain's No.1 Specialist Tools and Machinery Superstores
When it comes to buying tools and machinery, you need to know you're buying from specialists who know what they're talking about.
Machine Mart eat, sleep and breathe tools and machinery, and are constantly updating their range to give you the very best choice and value for money - all backed by expert advice from their friendly and knowledgeable staff. With superstores nationwide, a dedicated mail order department and a 24 hour website offering quality branded items at fiercely competitive prices, they should be your first choice for quality tools and equipment.
.jpg?width=1600)
