Replacing your chain & sprockets
Whitham bestows his advice on how to change your bike's chain and sprockets

Fitting a chain and sprocket set is a necessary evil as time and the good old British weather takes it toll on your final drive. It’s also a great way to improve the looks of your bike or to alter the overall gearing to suit your riding. And it’s nowhere near as hard as it looks, either. Specialist tools will make the task easier, but even with a basic tool kit it’s not a difficult job. Just take your time and follow our step-by-step guide – it’s a doddle!
Step 1
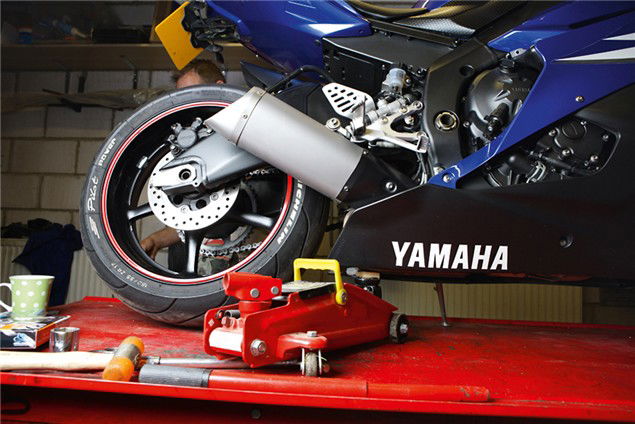
Make sure that you have either a paddock stand or a trolley jack and a piece of wood. We’ve opted for the latter, making sure that we’d loosened the rear spindle nut before jacking the bike up, all the while making sure that the bike is steady and unlikely to topple over. We use a piece of wood on the jack to prevent damage to the exhaust and also to help the bike to grip the jack. Take time to make sure the bike is safely supported.
Step 2
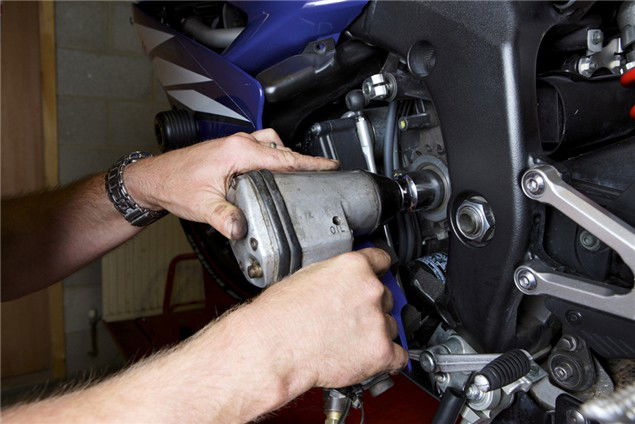
Now loosen the front sprocket nut before you remove the old chain. On many modern bikes, you will need to remove the gear linkage to get to the front sprocket. The R6 we’re using has a scribed line and centre-punched dot showing how the linkage lines up on the splines. If your bike doesn’t have this, and you don’t have any marking tools, then a marker pen or blob of paint will do.
Once this is off, remove the sprocket cover and while it’s off give it a good clean – you should now be looking at the front sprocket. Getting the retaining nut off isn’t as easy it looks and you’ll be glad that you left the chain on. Put the bike in first gear and get a mate to hold the rear brake on firmly – you’ll need a decent bar and a six-point socket to get the nut off. Luckily, we’ve got an air impact wrench that makes the job a lot easier. Cordless electric ones are really useful too - Machine Mart does one that’s perfect for this job for about £90. Worth buying.
Step 3
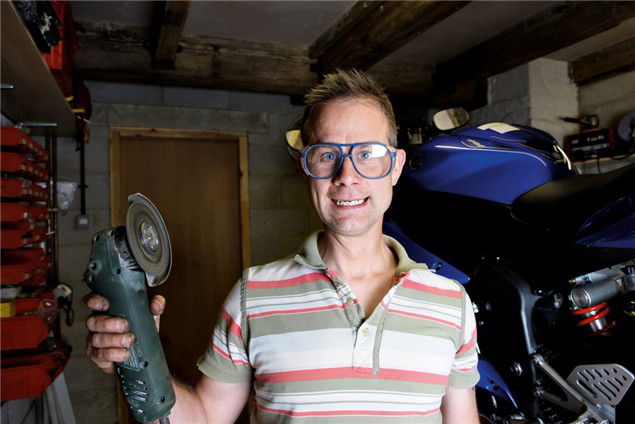
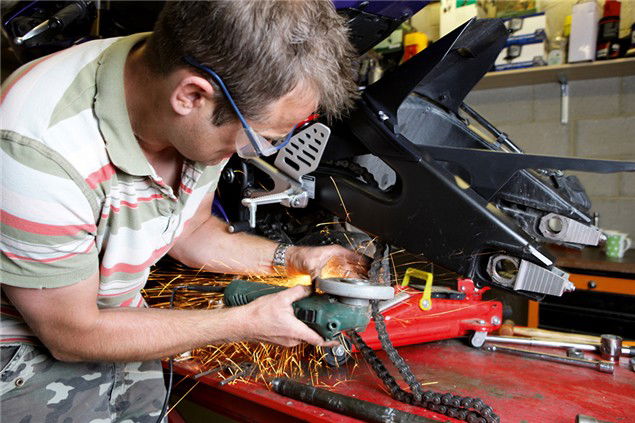
Now it’s time to get that chain off. There are chain-splitting tools available for this job, but over the years I’ve found that you can’t beat an angle grinder or a Dremel. This may sound a little dramatic, but all you’re doing is grinding down the pins until they’re flush with the side plate. If you can find the soft link it will be easier, but on the original chain this might not be possible. Once the splayed pins are ground flush, a tap with a small punch should be enough to split the link. Once done, carefully pull the chain free.
Step 4
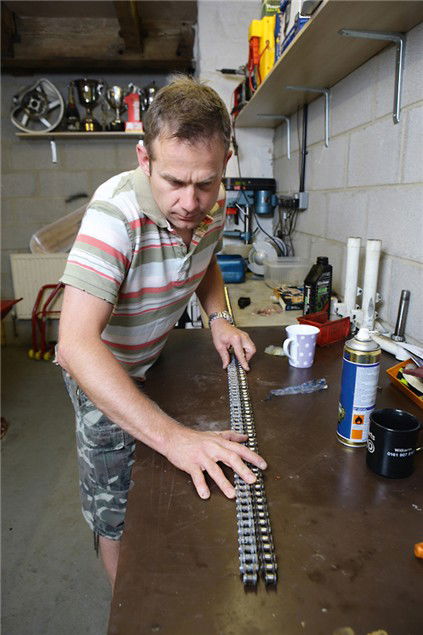
Before you go any further, you may as well check that you’ve been sent the right chain! Lay the old chain on a clean surface and lay the new chain next to it. If the new chain is longer, it’s not a problem as it can always be cut to length. Check the pitch of the chain (530,525,520 etc.) against the pitch of the new sprockets to make sure that they’re correctly matched and are the right size for your bike. If everything is in order, it’s time to get those manky old sprockets off…
Step 5
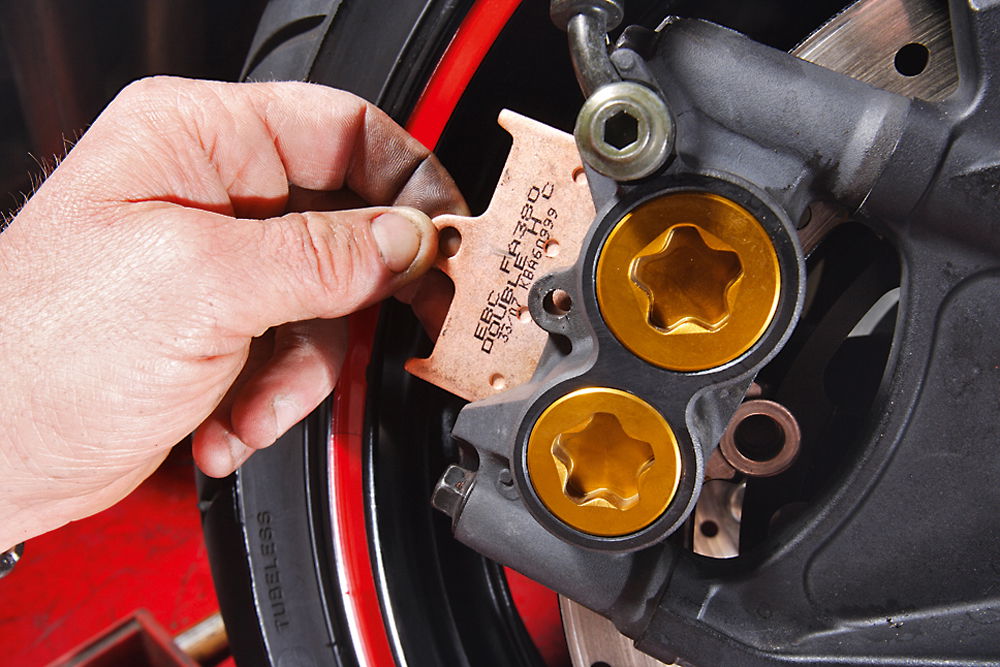
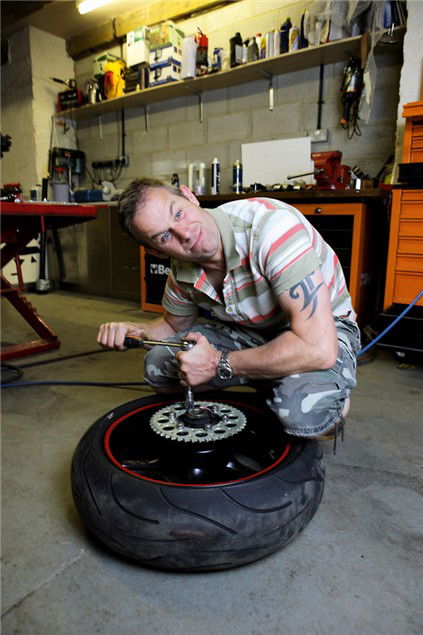
Remove the rear wheel, and simply undo the sprocket nuts or bolts. Double check the sprocket size and pitch and fit to the cush drive, tightening all the nuts or bolts to the recommended torque setting, then refit the rear wheel into the bike. Take care with the front sprocket and be sure to compare thoroughly with the replacement – many sprockets look the same at first glance but have different spacing – if it’s wrong then the chain won’t run in line – at best it will wear quickly, at worst it could break, causing damage to the bike and possibly injury to the rider so it really is worth checking properly.
Step 6
Now comes the fiddly bit – joining the new chain. In with the chain should be a separate link in a small packet. This is the ‘soft link’. Once you’ve run the chain around the sprockets pull the two ends together. Next, you’ll need to fit the O-rings to the greased-up soft link; these should sit between the side plates and the roller pins. Once pushed through, fit the other two O-rings to the pins and gently push the side plate on with your fingers.
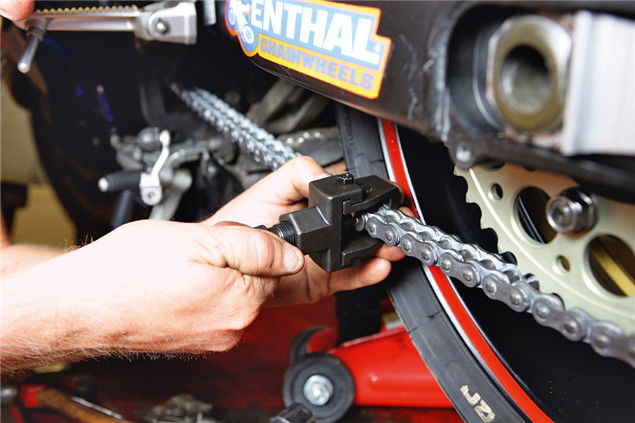
We’ve bought a chain press and riveter for around £30 from a local bike shop to make the job easier, but the same can be achieved with careful use of grips and a punch. All the job entails is squeezing the side plates together evenly until the link looks the same as the others and the pins are protruding ready for splaying or peening.The tool we’ve bought does both jobs using different pressing plates – one to press the side plates together and one to hold the roller pins in place while the tool spreads the pin ends. Once done, check for any tight spots and adjust the tension. Tighten the front sprocket nut and refit the covers. Check your chain tension after the first couple of rides to allow for the initial stretch of the chain.
Sponsored By

Britain's No.1 Specialist Tools and Machinery Superstores
When it comes to buying tools and machinery, you need to know you're buying from specialists who know what they're talking about.
Machine Mart eat, sleep and breathe tools and machinery, and are constantly updating their range to give you the very best choice and value for money - all backed by expert advice from their friendly and knowledgeable staff. With superstores nationwide, a dedicated mail order department and a 24 hour website offering quality branded items at fiercely competitive prices, they should be your first choice for quality tools and equipment.
